Guides
Customer Support
June 3, 2026
Connecting Your Bank to Float
Written by
The Float Team

This video shows how to connect your bank account to Float. You’ll learn how to fund your account, manage balances, and set up tools to keep cash flow running smoothly.
Connecting your bank account to Float is the first step to funding cards and managing your company’s cash flow.
To connect your bank account to Float:
- Connect Your Bank:
- Navigate to Accounts > Bank Connections > Click on Connect Bank
- Select Your Bank:
- A Flinks pop-up will appear
- Choose your bank from the list
- Some business accounts may have specific prefixes or suffixes. If you don't see your bank, try different variations of abbreviations
- Authenticate:
- Enter your banking credentials as prompted
- Flinks will process the connection in the background
- You can continue using Float; you'll receive an email once the connection is successful
- Set Primary Account:
- After connection, you'll be prompted to select your primary account for funding from Accounts > Bank Connections > "Set Funding Source"
- If the transit number wasn't captured, you'll need to enter it manually. You'll be prompted to do so when setting the funding source. You can find the transit number on a direct-deposit form or cheque from the connected account
- If the recognized currency is incorrect, click the three vertical dots next to the bank connection and select the correct currency
For more details, see:
Connecting CAD Bank Accounts to Float
Connecting USD Bank Accounts to Float
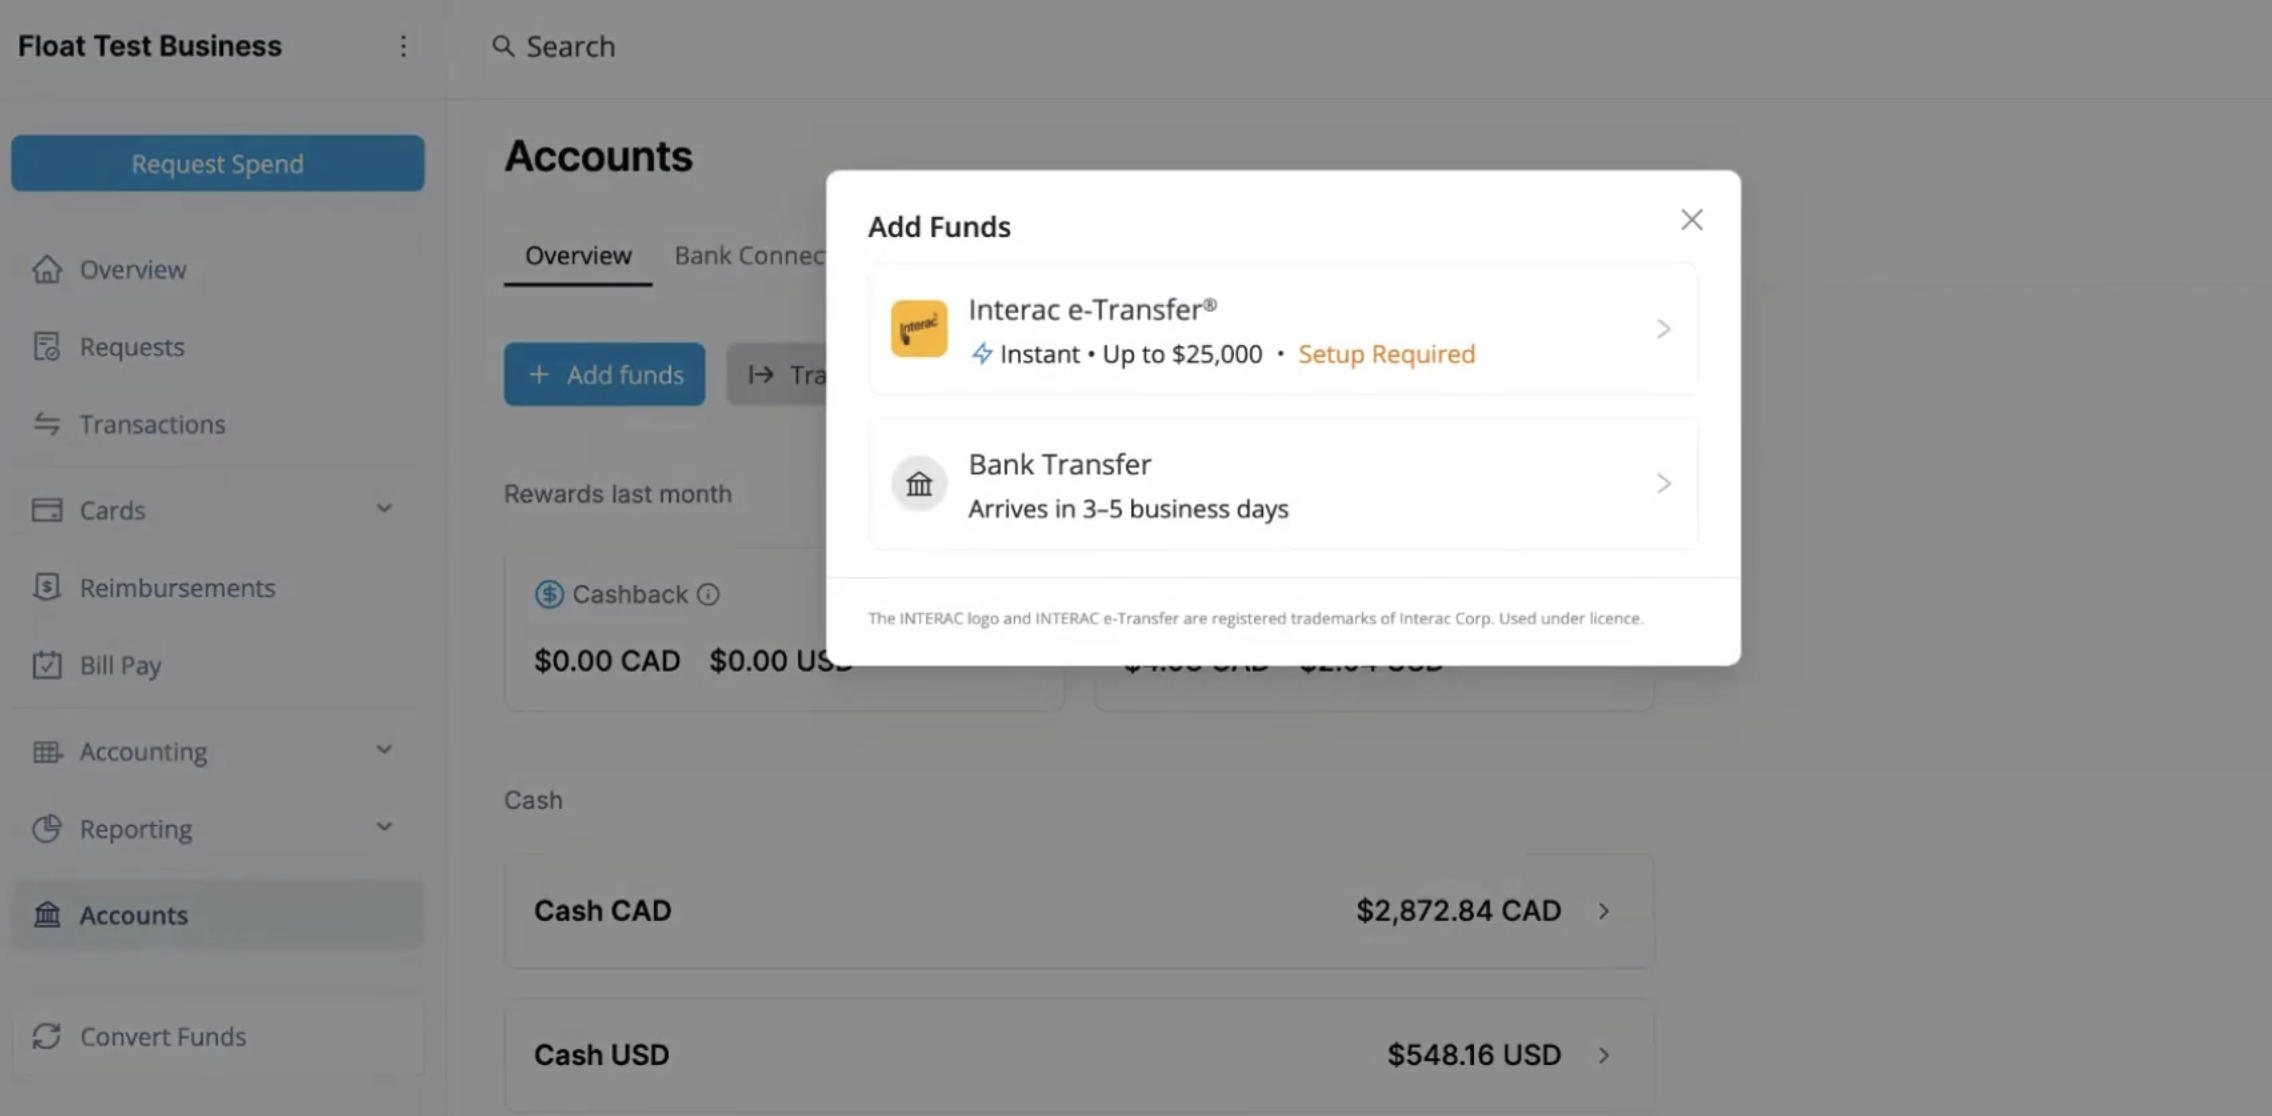
To fund your Float Cash balance:
- Interac e-Transfer Funding:
- Simply register an email address to receive your e-Transfer payments from Accounts > Overview > Add Funds > Interac e-Transfer
- Once verified, all future e-Transfers you send to that address will be auto-deposited instantly* to your business's Float balance
- For more details, see: Funding Your Business' Float Balance with Interac e-Transfer
- Funding from a Connected Bank Account:
- Navigate to Accounts > Overview > Add Funds > Bank Transfer
- Input the amount, the account you're pulling from, the account it's going to (Cash or Charge), and a comment
- Click Continue
- For more details, see: Funding Overview
- Funding via EFT, Wire or ACH:
- You can also fund your business's CAD or USD cash account balance by sending an EFT, Wire or ACH payment from your bank